
Since the space on this side was tight and we needed to make sure the appliances would have enough room, we taped the exact measurements off along the wall and the floor before we started to build the cabinet. It would have been awful if we couldn't get the fridge in the spot designated for it and had to rip out the cabinet after it was built!

The dividing walls being put in place. We used a lot of left over 3/4 inch plywood on this one because the sides would be covered by the appliances and not seen.

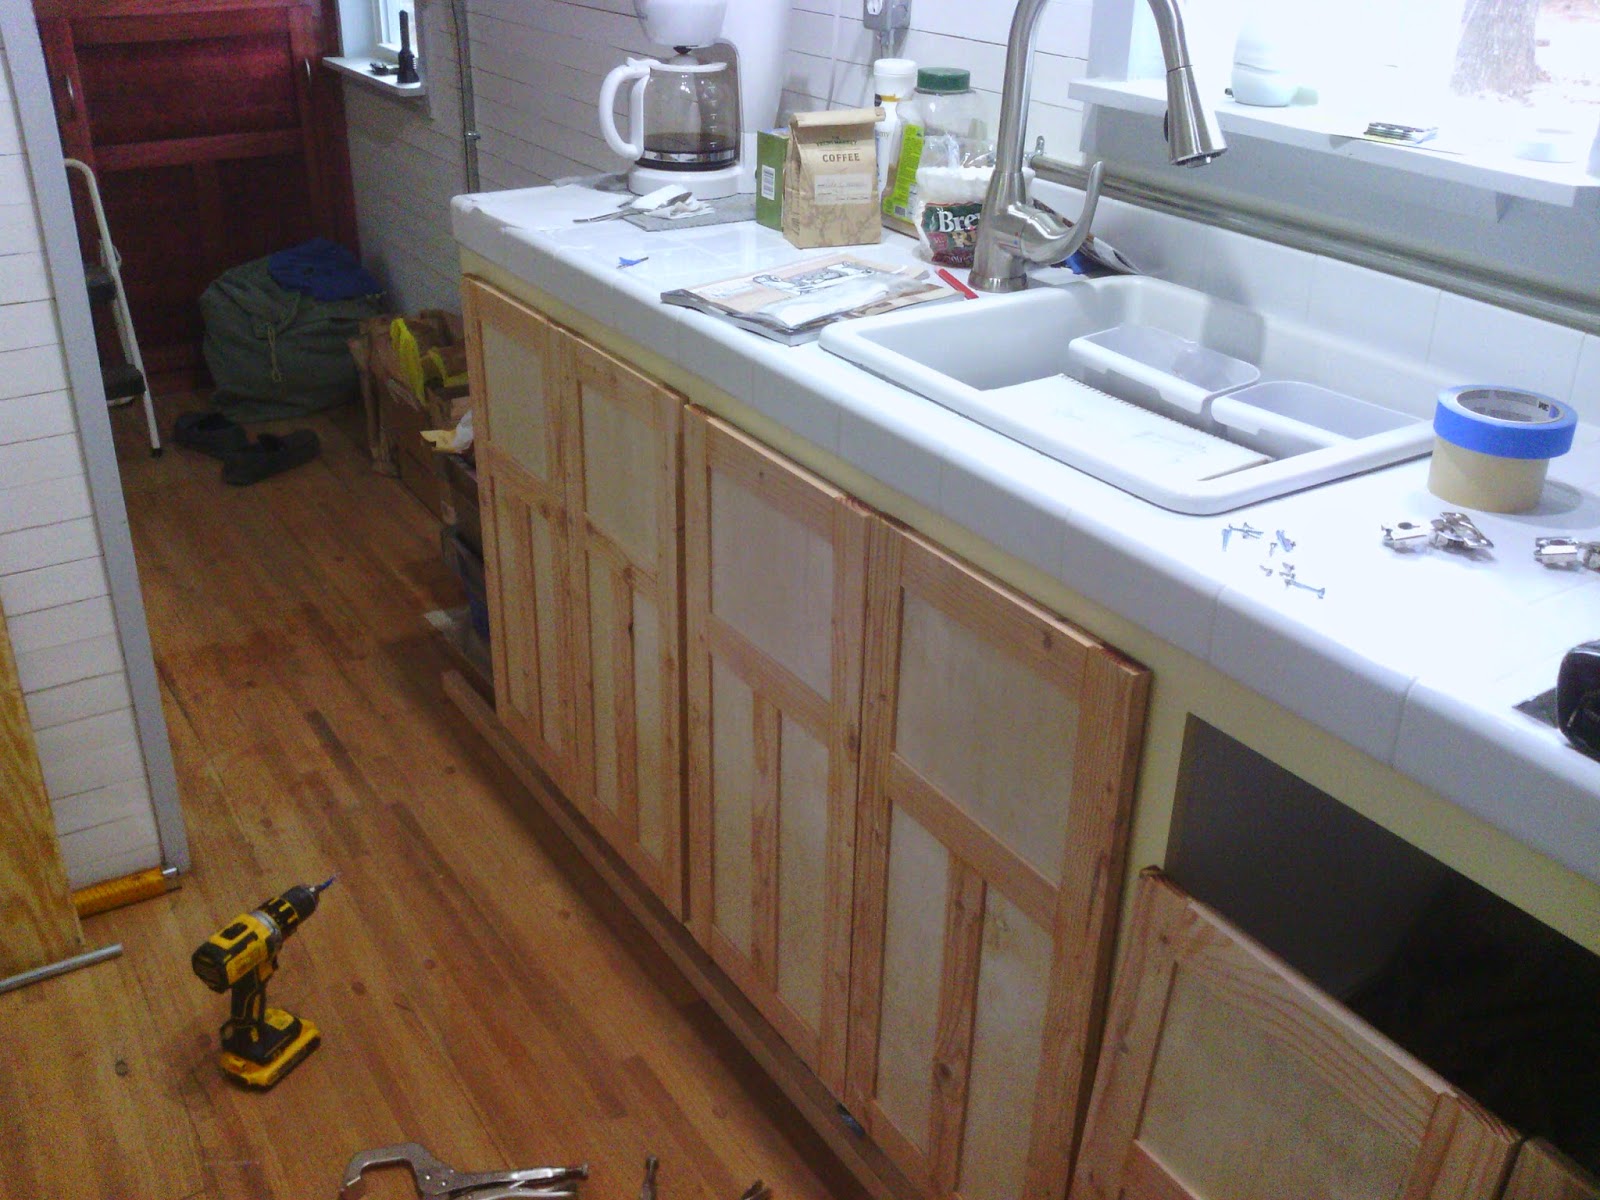
Starting to look like a kitchen cabinet. Again, scrape leftovers being used as you can see by the slightly stained boards. :)

Facing the front of the cabinet. We used framing lumber that we ripped to the correct thickness and glued it together.

Building the drawers. We had to cut a groove to accept the plywood bottom. Everything will be glued and screwed together to make the drawers strong.

Two down, one more to go! I wanted deep drawers for maximum space. All are 16 inches wide by 23 inches long overall. The small drawer is 5 inches deep and the other two are 8 inches deep.

Drawers installed, minus the facing. We splurged and bought the nice soft close hardware for the drawers. They have a plunger system inside that you can adjust to glide close, even if you slam them. I love them!

We tiled the top, just like the other cabinet. I really love the clean look of white tile counter tops. We got the cabinet painted. You can see screw holes on the side but since the fridge will be against the cabinet, we didn't worry about plugging them.

Nice closeup of the tile :)

The drawers and door on the small cabinet. The doors are 3 panel shaker style to match all the other doors in the house.

Everything is working properly.

We used soft close hinges on the doors as well. They had to be recessed into the door. We used a 1 3/8 inch forstner drill bit to drill out the holes.
Mounting the sink cabinet doors.
Now, it's time to paint! Well, have to tape off all the doors first since they are two-tone. That, in itself is a pain in the you-know-what. I spent the money on the good blue painters tape. Took extra care to make sure the tape was properly put down. I'll admit up front, I am a terrible painter so I was really trying to avoid one color bleeding onto the other! But, all that time consuming precautions still didn't prevent bleed over! And I blame the tape! Since it was all along the edges. So, micro touch-ups had to be done by the Hubby, since as I said, I am a terrible painter! The paint does deserve some mention. I used Behr Premium Plus - paint & primer in one. It's low odor, which was very nice since we painted inside. The paint & primer in one gave a nice coverage even after the first coat. It sealed up a lot of the imperfections in the wood nicely.
We wanted to use something creative for the handles on the doors and drawers. We bought some cheap stainless spoons at the dollar store. You got 4 for a $1.00...not bad!

We drilled out screw holes and bent the spoons into shape.

That's how our spoon door handles turned out! I love them!

Sink cabinet doors painted, mounted and with handles!

We got our fridge put in place. Fit perfectly! Measuring several times before building is a must!

Drawers with facing and hardware mounted. I am loving my kitchen!

There you have it! Cabinets are done! I am very happy with how they turned out!
We are getting ready to move on to setting up the water system. We are ordering our tank, filters and pumps now. Once we have everything, we can get started! Excited to get water running. :)
Thanks for stopping by and checking out our progress! If you have questions or just like the build, leave us some comments! You know we love them!
4 comments:
Love watching your progress! My experience has been the green frog tape works best.
As much as we dislike paintng, Frogtape WILL be used next time! I think that the 1/4" plywood had a funky texture that caused the bleeding (even after sanding)! That's my story anyway!
(Guy in the pictures)
The white tile looks very classic, I dig it. Great work!
Thanks James. I think it's a timeless look that never grows old and goes with any renovations you might do to a kitchen down the road. :)
Post a Comment