We have pretty much completed the wall covering and trim work. So without further ado.... pictures!

We got the ceiling finished. Things matched up pretty well, which was really nice.

The bathroom is slowly taking shape.

More of the bathroom being done.

Bedroom is turning out well. Pleased with it so far!

Starting to trim the windows. We used framing lumber that we ripped to size then miter cut the corner joints. It has that same rough cut appearance the rest of the house has. The front one has a bit of a sill on it for our cat to perch on and look out. He's a big fan of bird watching. :)
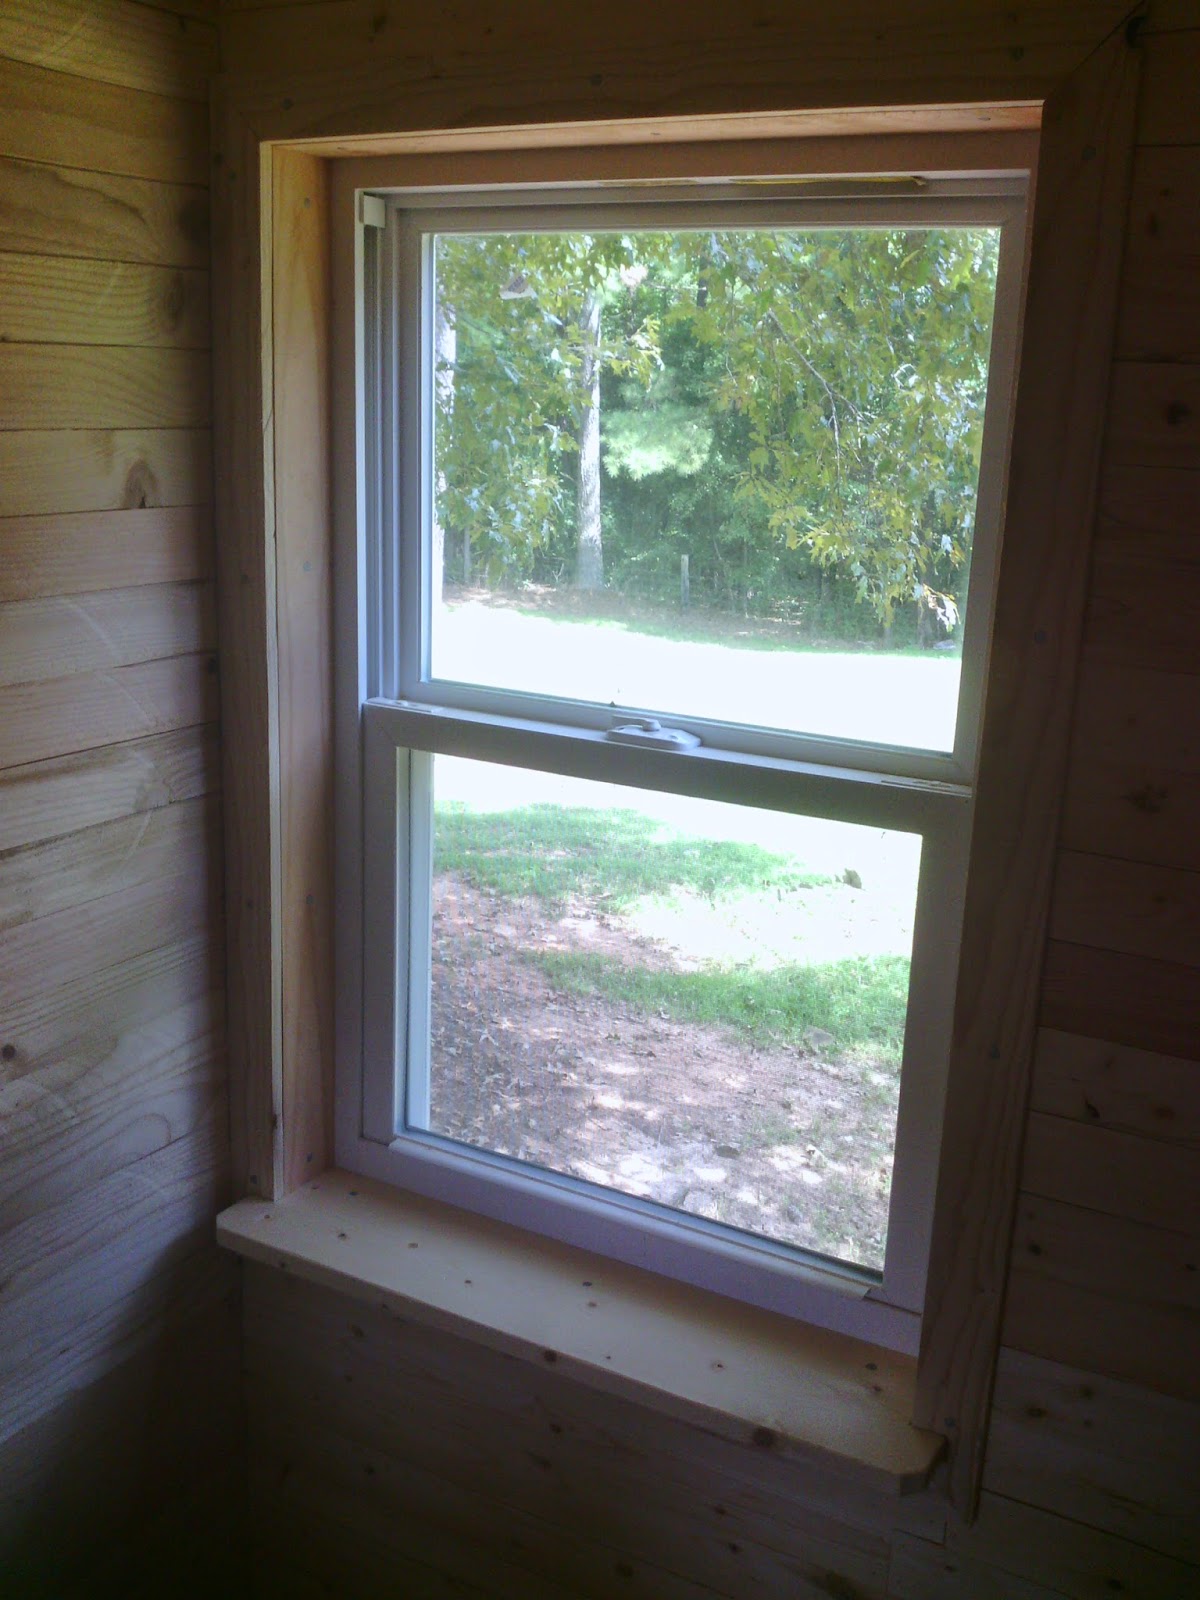
One of the bedroom widows beside the bathroom. There is one on each side of the room.
They both have cat perches as well.

We cut some strips to cover the corners of the bathroom walls. Also got the ceiling in the short hallway covered. The area above will be a storage nook.

We started framing in the front door. We then finished the siding around it.

Next came closing in above the front porch.

We had a couple of bags full of the insulation that has trimmed off the walls when they sprayed. We tore this up and stuffed as much as we could into the floor boards of the attic space.

Plywood floor down in the attic! All closed in nice and tight now. :)
We have finished all the trim work and are deciding now what kind of finish to use on the walls. Not sure how we plan to do them just yet. We plan to make a few sample boards to try different stains and faux finishes on. More to come about that!
Now..on to build the front door! A challenge in itself! Stay turned and as always..please leave us some comment love. We enjoy hearing from you!
4 comments:
Nicely done, Gunny. I like the wood look, and that you thought of your cat lol.
Thank you. We always think of our furry little boy. He's a big part of the family.
:-)
I used to be a cabinet/woodworker in a custom shop. Wood filler is not that stable and it can fall out in a high use area. Automotive bondo works very well. its very stable and if you prime/paint the wood its completely hidden. If you want the natural wood appearance, prior to urethane, buy some touch up markers that match your wood colors. You can paint and blend the markers using a rag and some creative marker skills. Then just coat the door or cabinet and it wont ever become an issue.
One other idea I used with my cabinet that held the plumbing for the sink trap. I would use plywood with a melamine laminated to one side. If you cut the wood to have the melamine inside the cabinet that holds the plumbing you can apply silicone lightly to the corners and joined seams and create a water proof cabinet that can withstand a leak and not cause damage to the cabinet and if you catch it quickly it protects the other woodwork around it. Its not a big deal unless something leaks. Then its something you will wish you had thought of. I love the build and it looks great!! Keep up the great work! Dan
Thanks for the suggestions Dan. We can always use them. :)
Post a Comment