We dreaded this next step in the build something awful. We decided since the bathroom was so small, we didn't want a shower basin or pan to divide the floor. We wanted to be able to open the shower curtain and have full use of the floor and room for other things. The trick...leveling the whole floor to slope and drain down the shower drain. Oh boy......
We watched numerous YouTube videos on how to do this. We went and checked out products at various hardware stores. And we thought.... this is going to be a disaster! Okay, okay, we thought we could do it and maybe it would turn out okay. And we were right. It wasn't easy and it took a long time to do...but we got it done! Yay us!
Bathroom floor before we started work. Just a nice clean slate to begin the monster project.
We had to build up around the bottom to hold the leveling compound and create our slope.We cut 2X4 studs to fit in between all the studs.
We cut our drain hole. You can see the insulation under the flooring. I wanted to cry just a bit cutting the hole in that nice floor.
We used some of that roof membrane we had left over to cover the floor as a barrier to keep the leveling compound from soaking into the wood.
We then stapled down some wire mesh to help hold the leveling compound.
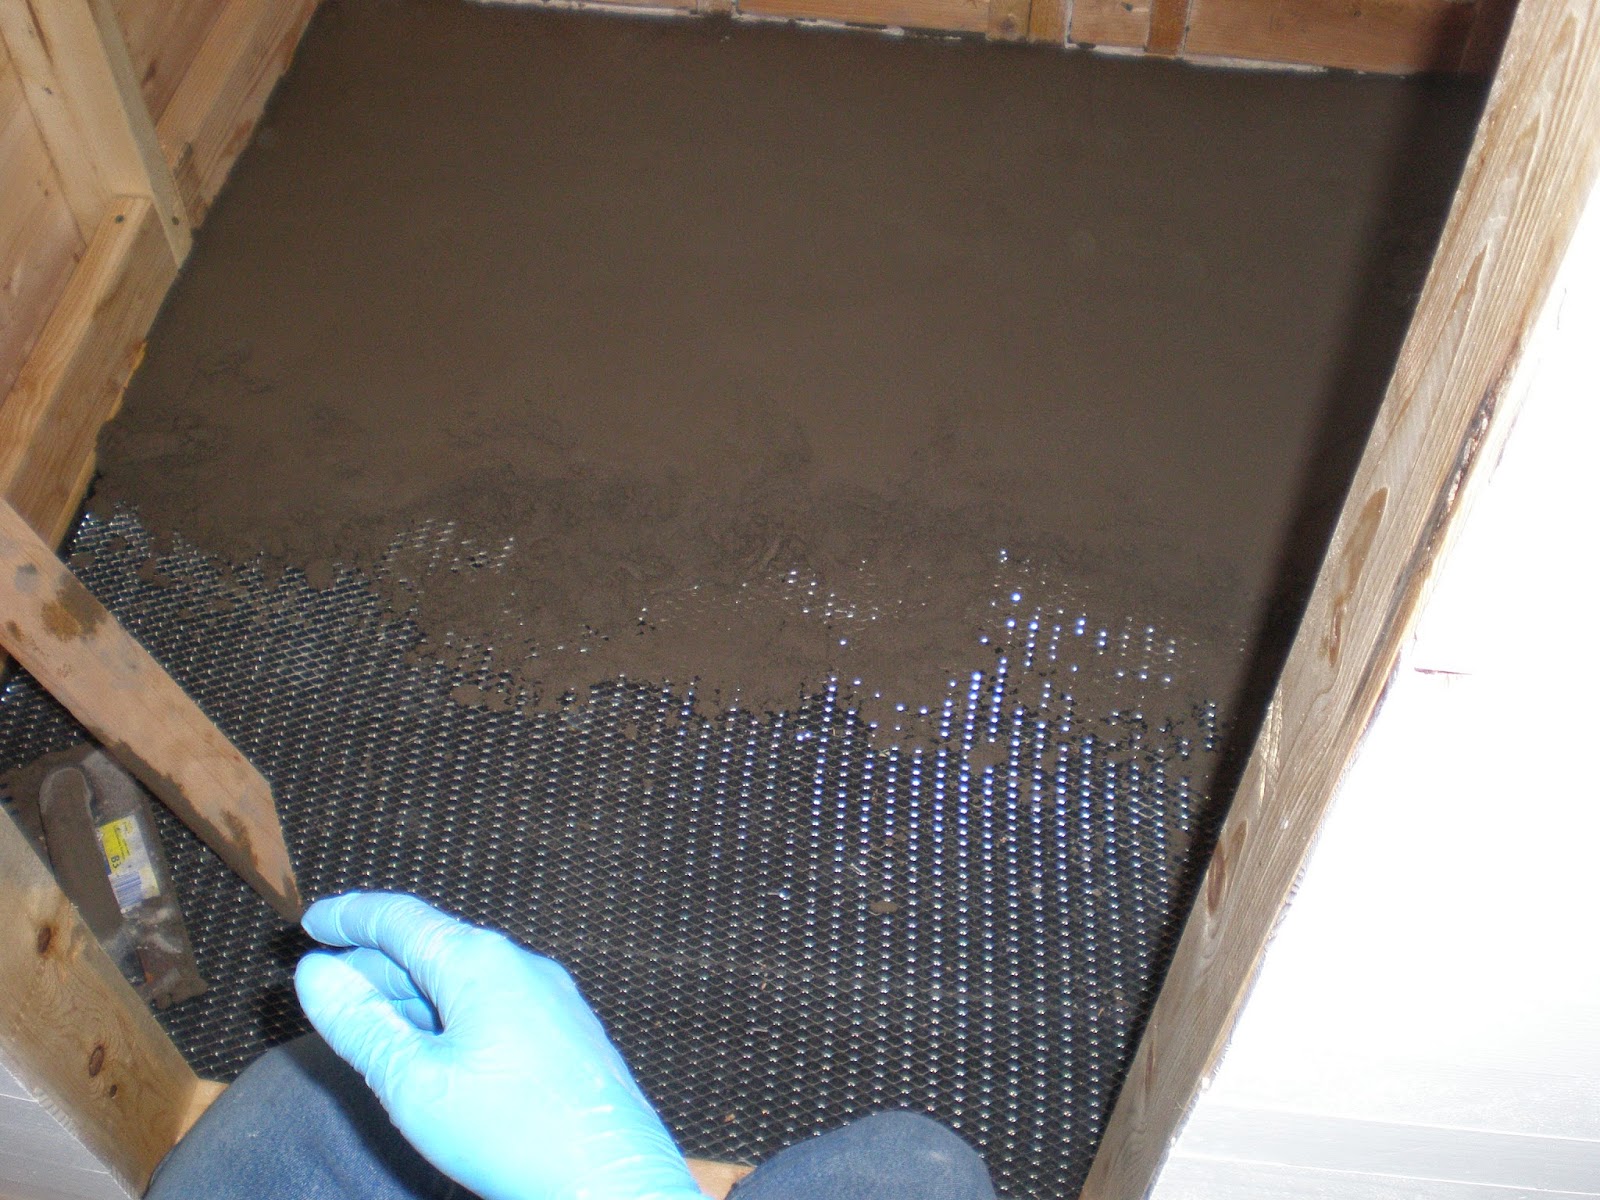
Next came the leveling compound. We had to apply it slowly and build up the slant as we went.
We put down the shower liner and got it smoothed out. We got the drain insert put in place.
And then...we applied MORE leveling compound! Finally, the floor is to the right slant and ready for tile!
We used a tumbled blue river rock as the main part of the floor with a 2inch boarder of blue African slate tile. We then sealed the slate and stone with a porous stone sealer. This is right before we grouted.
We grouted with a grey color to set off the tile. This is before we cleaned all the haze off from the grout. After we got it clean, we applied a couple more coats of the sealer.
And ....VOILA! The finished product. The flash kinda washed out the color a bit. It's darker than in the picture. We are very pleased with how it turned out. The slate and stone went together perfectly! And with the slate being flat, we can seal the walls really well with caulking.
So there you have it. Our bathroom floor. Next step...PLUMBING!
Again, thank you for reading our post and please, as always, leave us comments! We just love them!
A detailed look into the building of our tiny home, ideas and concepts we used, tips and links to other tiny home sites we like.
Wednesday, November 19, 2014
Wednesday, November 5, 2014
Let There Be Light!
We have been busy, busy! So much to do still and we are just trying to knock it all out, one step at a time. This is a two part blog covering the paint on the inside and the electrical. Woot, woot...we have LIGHT!!
So, on to the painting.
We originally planned to do a type of white wash effect so that the wood grain showed through. You basically brush on white paint, then immediately wipe it off as much as you can. It whitens the wood but doesn't completely cover it. Test sample came out great. The actual product....not so much. :(
The pine didn't take the paint evenly. And because it was drying so fast, you had to do small sections so you could wipe it off quickly.
It left lines and splotchy sections. We just couldn't get it even. AND....since we had already started, we had a good section of the walls looking like this...we were left with one real option...PAINT!
We painted the walls a flat true white. The trim we painted a semi gloss light grey. It's actually the same paint as the siding. It just looks more grey against the white. We painted the cross beams and supports the same grey. It was a nice neutral color that would go well with any colors we used in furniture or accent pieces.
The slight gaps in the wood where it was hand cut shows up nicely. It gives the whole place the feel of a old farmhouse. It really shows off that it was handmade and I love it.
Bedroom area. It was a pain to paint! All the overhead wore my arms and shoulders out quickly.
Bedroom window. I like how the grey looks against the white. It's so clean looking.
And now...on to the electrical. You can see the hint of pipe in some of the previous pictures. We decided to run the electrical in 1/2 inch conduit on the outside of the walls in case we had to fix anything down the road. I like the look of exposed pipe and my husband does a phenomenal job bending it.
We mounted our small electrical panel in the hall back by the bedroom.
Pipe running from panel to kitchen and branching off to the proper areas.
And more pipe. Running down the wall to where it will branch down for the fridge.
Area above the sink. Outlets will be run on a GFCI circuit breaker. The other box is a double switch for the kitchen ceiling fan and light.
Pulling wire. What fun. We ran our circuits and pulled all the wire for lights and fans.
Circuit panel before
Circuit panel after. All connected and labeled up nice and pretty!
Track light in bedroom area with LED bulbs.
Ceiling fan & track lights in living room area. LED bulbs, of course. It's hard to see but if you look into the loft area, there is a dark grey strip mounted on the peek. That is a battery powered LED track light with pivoting heads. We got them at Harbor Freight for $10.00. Perfect for Storage loft light!
Kitchen track lights with LED bulbs and fan. It's a small 35inch fan but quite powerful.
The fans are on a "quick disconnect" so we can take them down when we move. We were worried about them swinging and banging into the walls when we hauled our home around. We mounted a base plate that a threaded piece of heavy duty conduit could screw into. We replaced the fan pipe with the conduit and attached a plug to the end instead of straight wiring the fan into the box. Just unplug and unscrew the fan and it comes down easy peasy!
And to end...a picture of my gorgeous front door with the light switches wired in. We will have a light mounted out front of the porch.
We now have light and can run a small heater to help keep the chill out of the house while we work this winter. We are running off a temporary line to a powered barn right now. It works and allows us to keep working when it gets dark or too cold.
We are now moving on to the bathroom! YAY! One step at a time. :)
Thanks for reading and as always..please leave us some comments! We love to hear from you!
Tuesday, October 21, 2014
Shut The Front Door!
You never really think about what goes into making a door. Usually you just go to the local Home Depot or other hardware store and buy one. But what do you do when you need a custom size? You pay to have a custom door made. But what do you do when you see how much a custom wood door costs and think to yourself...are they crazy?!?! Well, you build your own, of course!
So we set out to build our smaller than average front door. We knew it was going to be a challenge to build a solid and beautiful door. And it was! But we did it. And it turned out beautiful! And cost us less than a custom made one...WAY less. I hope this post will inspire others who think, "I can't do this" to try and make their own. It can be done!
The biggest expense was a good electric planer, which we found at Harbor Freight. It was about $230.00 with a coupon and we will be using it to make the kitchen cabinets and a few other things.
We also bought a Kreg Jigs Pocket Hole Kit which we will be using on the cabinets and such also. This is such a handy kit to have! And so many possibilities for use.
https://www.kregtool.com/store/default.aspx
We bought a couple pieces of solid red oak 2X8 12ft boards and one piece of 3/4 inch oak plywood.
Here's how we made our door.
We cut our main boards to length. We then planed them down to the right thickness for our door.
We also had to cut the boards to the proper width on the table saw. We laid them out to find the best looking sides and marked these as the exterior side. The side with the most imperfections will be the interior side. We marked the boards "top, bottom, right & left" so we knew where each went.
We cut a 3/4inch groove inside each of the boards to accept the plywood panels. We used a dado blade on our table saw to make this cut.
We had to cut a notched area in the top, middle and bottom boards. These will glue into the groove on the side boards.
We pieced it together and clamped it in place. We attached the Kreg Jig and used it to drill the pocket screw holes. We did this to make the door more sturdy than it would be if just glued together.
We cut the plywood panels to size and fit them into place. We then glued everything together nice and tight. We added the screws and left it to set up.
We used some scrap oak to cut small strips to fit inside the panels around the edge as rough cut molding.
We used a dowel rod to fill in the screw holes. We filled in all the knots and grooves with wood filler.
We sanded it, then sanded it some more. And sanded it yet again.
The peephole we bought was a bit bigger than the panel so we had to build it up a bit. We used a piece of the red oak on each side and trimmed around it to match the rest of the door. Viola! Peephole fits!
We used a pickling stain to enhance the natural beauty of the wood. We then applied a couple coats of sealer to protect it against the elements.
We used some leftover oak to build a transition strip. We cut two pieces to fit where to porch meets the interior floor and glued them together. We used the same pickling stain and sealer as the door.
Done! The final trim around the door frame in place along with the weather seal. It's a nice snug fit and the door shuts quietly. I love the door knob and lock set we picked out.
Inside view. The slight imperfections in the wood came out beautifully. I couldn't ask for a more beautiful door and we didn't have to pay a fortune for it!
It looks so inviting, doesn't it? So come on in, and shut the front door! :)
So we set out to build our smaller than average front door. We knew it was going to be a challenge to build a solid and beautiful door. And it was! But we did it. And it turned out beautiful! And cost us less than a custom made one...WAY less. I hope this post will inspire others who think, "I can't do this" to try and make their own. It can be done!
The biggest expense was a good electric planer, which we found at Harbor Freight. It was about $230.00 with a coupon and we will be using it to make the kitchen cabinets and a few other things.
We also bought a Kreg Jigs Pocket Hole Kit which we will be using on the cabinets and such also. This is such a handy kit to have! And so many possibilities for use.
https://www.kregtool.com/store/default.aspx
We bought a couple pieces of solid red oak 2X8 12ft boards and one piece of 3/4 inch oak plywood.
Here's how we made our door.
We cut our main boards to length. We then planed them down to the right thickness for our door.
We also had to cut the boards to the proper width on the table saw. We laid them out to find the best looking sides and marked these as the exterior side. The side with the most imperfections will be the interior side. We marked the boards "top, bottom, right & left" so we knew where each went.
We cut a 3/4inch groove inside each of the boards to accept the plywood panels. We used a dado blade on our table saw to make this cut.
We had to cut a notched area in the top, middle and bottom boards. These will glue into the groove on the side boards.
We pieced it together and clamped it in place. We attached the Kreg Jig and used it to drill the pocket screw holes. We did this to make the door more sturdy than it would be if just glued together.
We cut the plywood panels to size and fit them into place. We then glued everything together nice and tight. We added the screws and left it to set up.
We used some scrap oak to cut small strips to fit inside the panels around the edge as rough cut molding.
We used a dowel rod to fill in the screw holes. We filled in all the knots and grooves with wood filler.
We sanded it, then sanded it some more. And sanded it yet again.
The peephole we bought was a bit bigger than the panel so we had to build it up a bit. We used a piece of the red oak on each side and trimmed around it to match the rest of the door. Viola! Peephole fits!
We used a pickling stain to enhance the natural beauty of the wood. We then applied a couple coats of sealer to protect it against the elements.
We used some leftover oak to build a transition strip. We cut two pieces to fit where to porch meets the interior floor and glued them together. We used the same pickling stain and sealer as the door.
Done! The final trim around the door frame in place along with the weather seal. It's a nice snug fit and the door shuts quietly. I love the door knob and lock set we picked out.
Inside view. The slight imperfections in the wood came out beautifully. I couldn't ask for a more beautiful door and we didn't have to pay a fortune for it!
It looks so inviting, doesn't it? So come on in, and shut the front door! :)
Friday, October 3, 2014
Walls...Part 2!
Walls, walls and more walls! It's been a while since I posted an update and I am truly sorry for that. We have been really busy with all that life has thrown at us this month and while work has continued, it's been at a slower pace. Just not had time to post anything new. But I am trying to get back on schedule now!
We have pretty much completed the wall covering and trim work. So without further ado.... pictures!
We got the ceiling finished. Things matched up pretty well, which was really nice.
The bathroom is slowly taking shape.
More of the bathroom being done.
Bedroom is turning out well. Pleased with it so far!
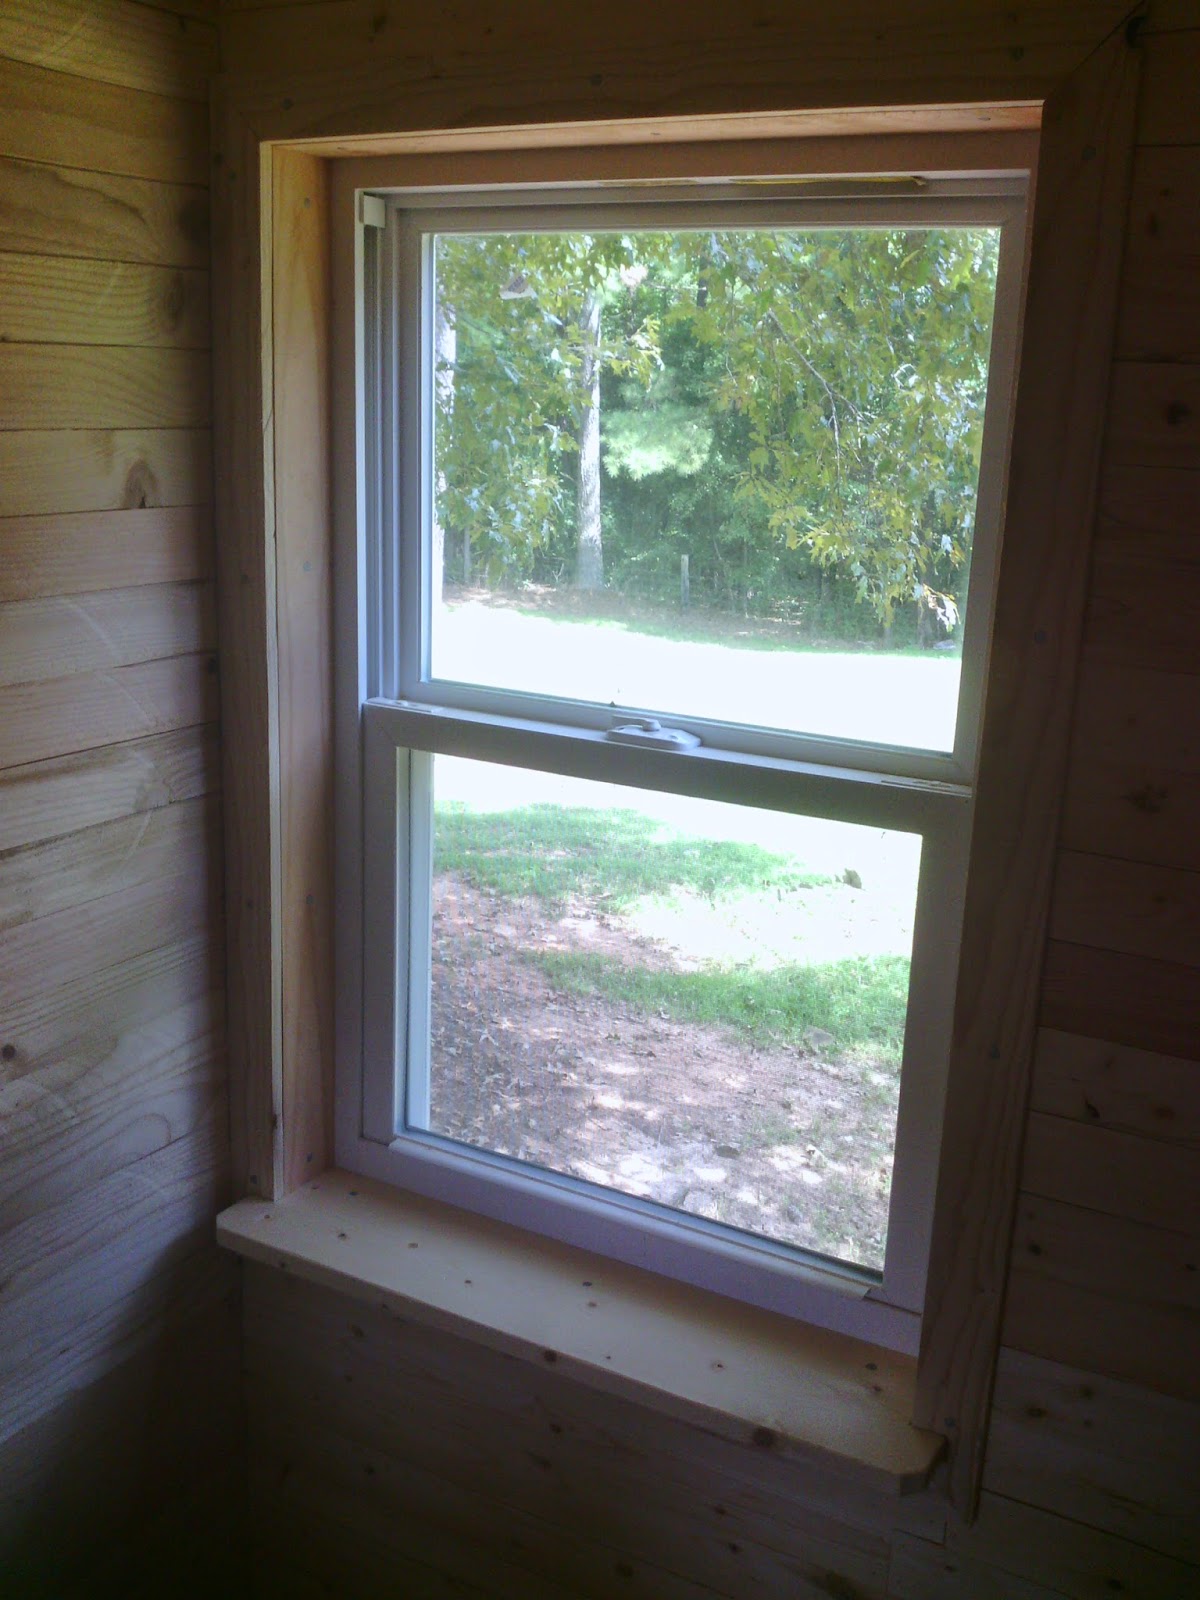
Starting to trim the windows. We used framing lumber that we ripped to size then miter cut the corner joints. It has that same rough cut appearance the rest of the house has. The front one has a bit of a sill on it for our cat to perch on and look out. He's a big fan of bird watching. :)
One of the bedroom widows beside the bathroom. There is one on each side of the room.
They both have cat perches as well.
We cut some strips to cover the corners of the bathroom walls. Also got the ceiling in the short hallway covered. The area above will be a storage nook.
We started framing in the front door. We then finished the siding around it.
Next came closing in above the front porch.
We had a couple of bags full of the insulation that has trimmed off the walls when they sprayed. We tore this up and stuffed as much as we could into the floor boards of the attic space.
Plywood floor down in the attic! All closed in nice and tight now. :)
We have finished all the trim work and are deciding now what kind of finish to use on the walls. Not sure how we plan to do them just yet. We plan to make a few sample boards to try different stains and faux finishes on. More to come about that!
Now..on to build the front door! A challenge in itself! Stay turned and as always..please leave us some comment love. We enjoy hearing from you!
Subscribe to:
Posts (Atom)