We watched numerous YouTube videos on how to do this. We went and checked out products at various hardware stores. And we thought.... this is going to be a disaster! Okay, okay, we thought we could do it and maybe it would turn out okay. And we were right. It wasn't easy and it took a long time to do...but we got it done! Yay us!

Bathroom floor before we started work. Just a nice clean slate to begin the monster project.

We had to build up around the bottom to hold the leveling compound and create our slope.We cut 2X4 studs to fit in between all the studs.

We cut our drain hole. You can see the insulation under the flooring. I wanted to cry just a bit cutting the hole in that nice floor.

We used some of that roof membrane we had left over to cover the floor as a barrier to keep the leveling compound from soaking into the wood.

We then stapled down some wire mesh to help hold the leveling compound.
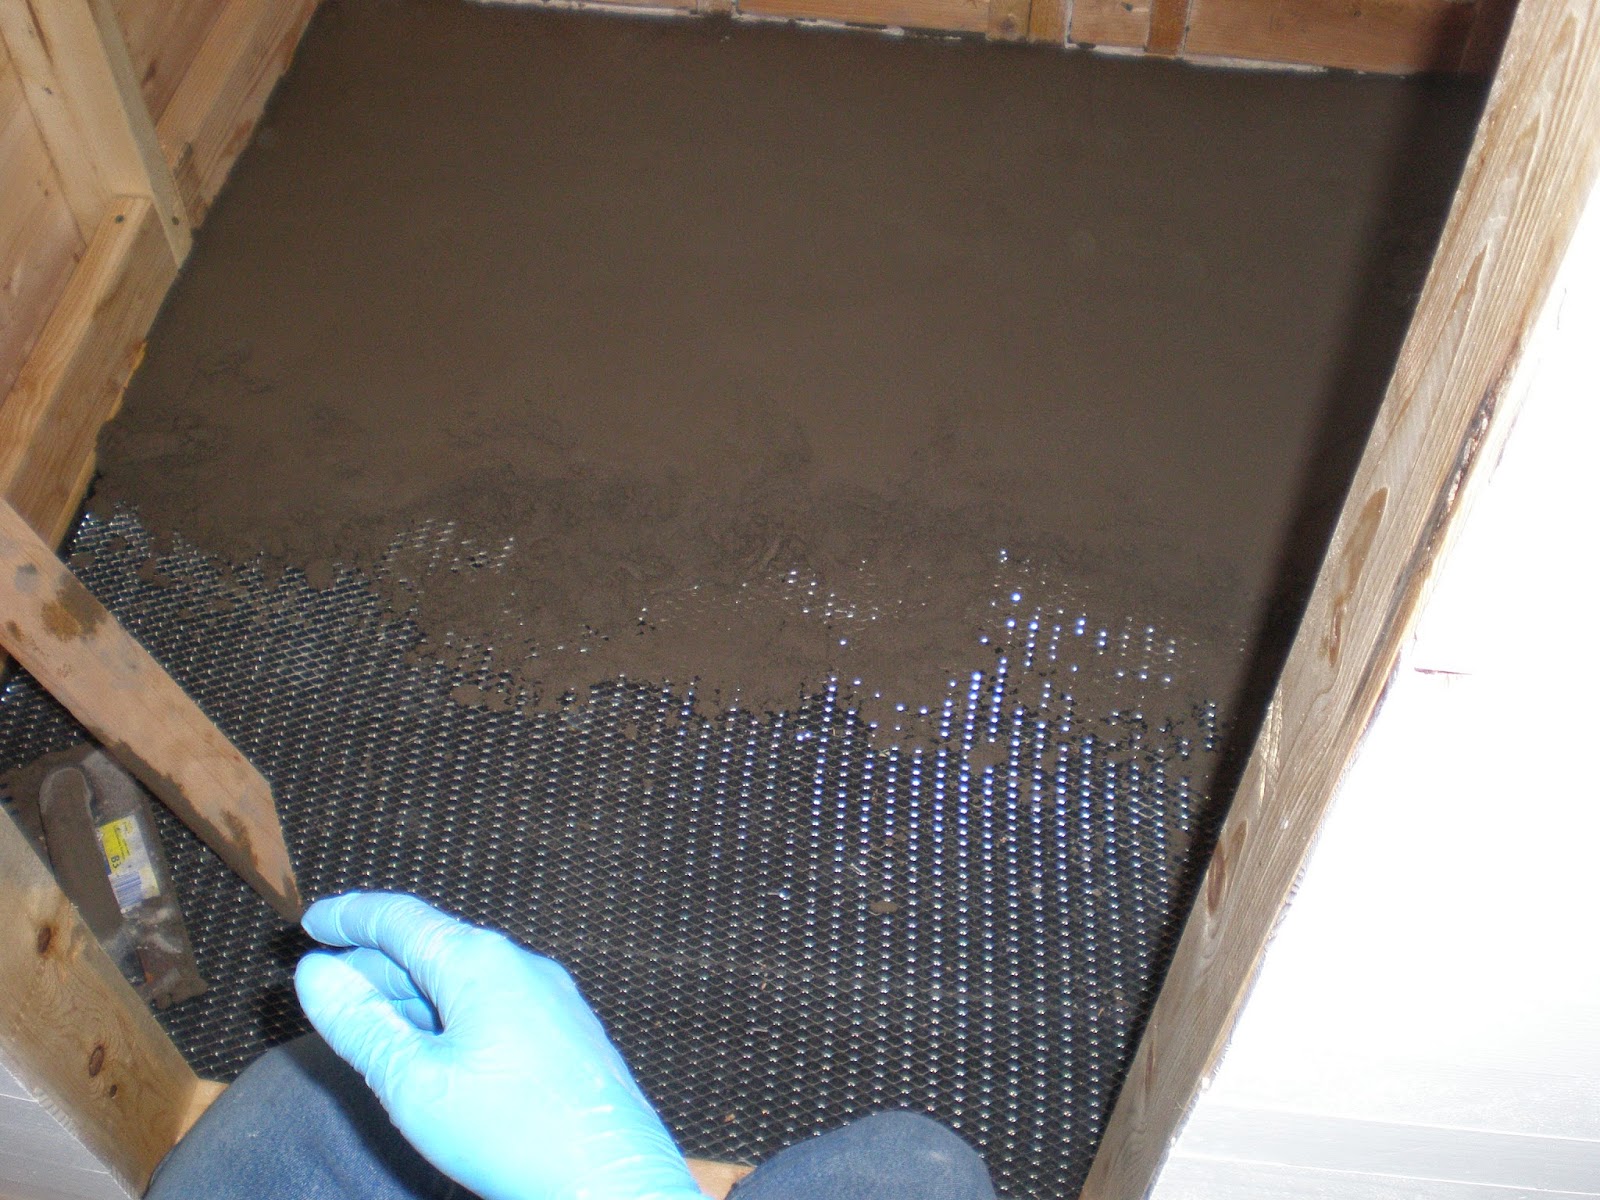
Next came the leveling compound. We had to apply it slowly and build up the slant as we went.

We put down the shower liner and got it smoothed out. We got the drain insert put in place.

And then...we applied MORE leveling compound! Finally, the floor is to the right slant and ready for tile!

We used a tumbled blue river rock as the main part of the floor with a 2inch boarder of blue African slate tile. We then sealed the slate and stone with a porous stone sealer. This is right before we grouted.

We grouted with a grey color to set off the tile. This is before we cleaned all the haze off from the grout. After we got it clean, we applied a couple more coats of the sealer.

And ....VOILA! The finished product. The flash kinda washed out the color a bit. It's darker than in the picture. We are very pleased with how it turned out. The slate and stone went together perfectly! And with the slate being flat, we can seal the walls really well with caulking.
So there you have it. Our bathroom floor. Next step...PLUMBING!
Again, thank you for reading our post and please, as always, leave us comments! We just love them!
3 comments:
Wow! That turned out amazing! I'm curious how you come up with your ideas?
Craig, Honestly we just run with things we see and like. It doesn't always work out but most of the time we can make it happen. I saw the pebble tile at the shop and loved it. Ronnie thought of the border to have something flat to seal the walls to. And so far, it's turned out better than I imagined it in my head. :)
Gee whiz, what a process! When I look at a shower, I never imagine they take such hard work and obviously require serious accuracy! Good for you guys for getting that done! Home improvements really take a good deal of time and persistence and especially just PATIENCE to see the final result! I think it is really looking very nice.
Essie Reed @ Valley Home Improvement
Post a Comment