We wanted a heavy duty floor so we used 12inch wide by 1 3/8 inch thick oak trailer floor. The kind they use in semi trailers. We were able to get 6 13ft long pieces for free from a family member...which covered about a third of the floor. We then ordered the rest in 16ft long pieces. It was heavy!
It comes shiplap cut. Which allows for closer seams and helps make it sturdier.
To strengthen the joint where the two boards meet, we cut a 1/2 inch grove and glued in a piece of 1/2 inch plywood. The opposite board has a groove in the connecting end to mate up to the first.
The flooring had a small ridge down the sides to leave a gap in the floor when used on semi trailers. We did not want that big of a gap so we had to chisel it off both sides of the board before installing it. Took a bit more time but the seams look fantastic!
We had a helper Saturday. Lucky, our friend's cat hung about most of the day. He enjoyed climbing all over the wood and the trailer as we worked.
First row done! We used 5/16 countersink self tapping screws to bolt down the floor to the steel cross beams underneath. We were going to cover the screw heads up later but I found I loved the rustic look of them showing. So they will stay visible under the varnish.
Slowly coming together board by board.
Halfway there!
Shadow play!
Break time so we decided to goof off a bit. :)
We ran into a snag towards the end. One of the salvaged pieces we got was not cut right. The ship lap was off by 3mm leaving a big gap. We left it for last since the space was a bit narrower than the others.
We had to cut off a small section the entire length of the board with the circular saw, set at the proper dept.
We had to then chisel off the cut part flush with the ship lap, making it the full 1/2 wide. Since the last row had to be ripped a bit narrower than the others, it worked out perfectly.
Finished!
And I couldn't be happier.
I love how it turned out.
I love how the tree's shadow falls on the finished floor. Just had to get a picture or 3!
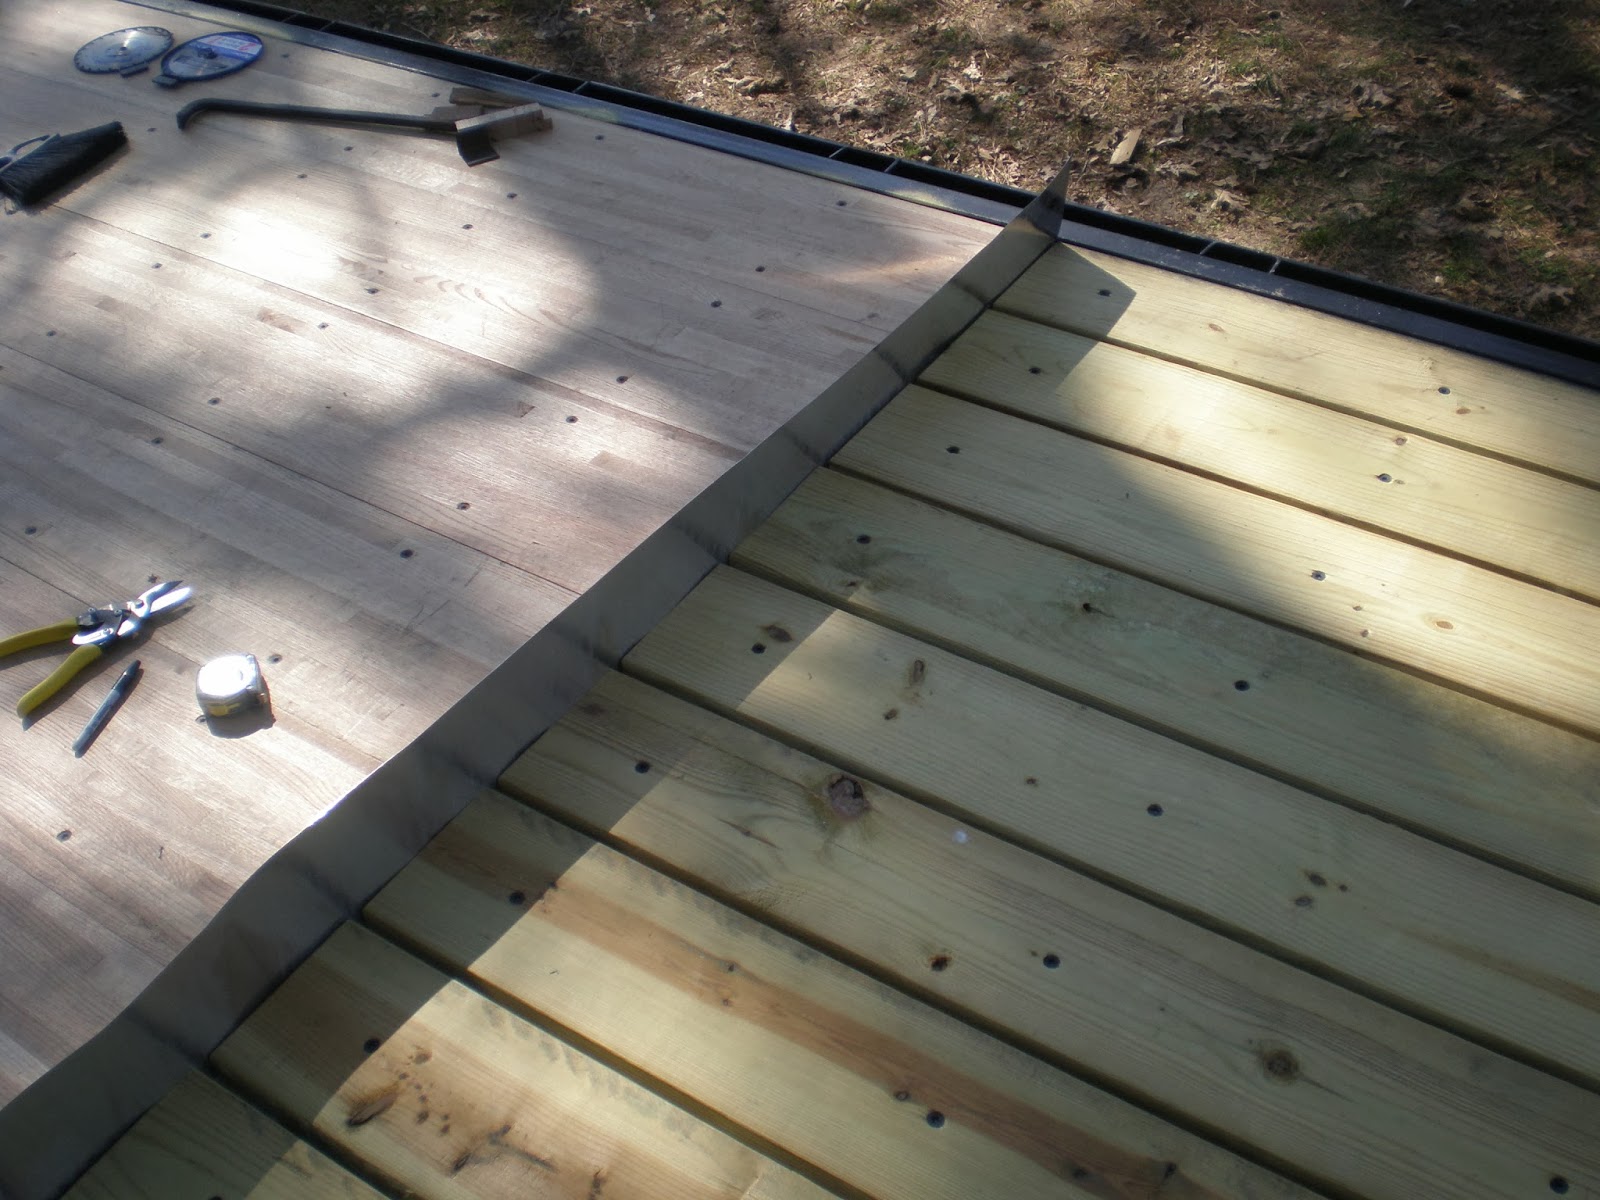
We had enough time to put down the deck boards also. We have a porch roughly 5ft by 8ft on the back that will be covered by the roof. We used 2x8 pressure treated wood and left gaps so that rain and dirt won't collect on the porch.
We put down a 10 inch wide piece of aluminum flashing the full length between the deck and house floor. The underside is angled down to help water run away from the house wall. The top part will be nailed to the inside of the front wall under the bead board.
Now that the floor is done, we can start to get our lumber list together and buy the framing materials!! We will be getting the windows very soon also. It's starting to fall together slowly but surely! :)


4 comments:
Hi again Chrissy, wondering how large (file size) your photos are. They loaded a little slow. Just asking to let you know and for my own blog spot. :)
Hi Alan. My pictures run between 1 & 2mb it seems. I'm sorry if they load slowly. I may need to look into making them smaller so they load faster. Still pretty new to blogging. :)
Hey Chrissy, don't be sorry :), I just like helping. Could you tell me how the photos on MY blog loaded for you? Just curious. I've been playing with file size of my pics. My first ones are larger 1mb - 2mb, then they got too small 280x420 pixels , I made some tiny business cards and the site wouldn't even take them cause they were too small.
Now I'm aiming for 600x800 pixels or something like that. they upload quickly and look fine to me on the bolt…
If the snow up here would stop… and it would warm up a bit, I'd blog more… shouldn't be soon - first day of spring today!!!!! BRING IT ON!!!
AP
Al...pictures are a bit small on your site but if you aim for the 600X800..they should be good. One reason I left mine big is to show as much detail for the "ocularly impaired" like me :)
And I understand about snow! I'm from upstate NY..Watertown to be exact! Hope spring arrives for you soon! :)
Post a Comment